*** Part 1 can be found here ***
This is going to be more technical. And short. :)
Pattern: Bee Keeper Quilt
Yarn: 10 colors, 27 skeins total (30 purchased)
Lorna’s Laces: Patina, MonkeyShines, The Bean, and Magnificent Mile (all Shepard Worsted)
Madeline Tosh Vintage: Ginger
Madeline Tosh dk: Dusk
Malabrigo: Butter, Rich Chocolate, and Applewood (all worsted)
Araucania Coliumo Solid: Color 24
Needles and Hooks: US 8 (knitting), 0 (crochet: seaming), and J (edge)
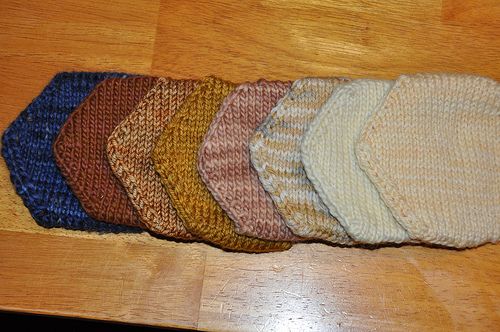
Modifcations: Hexagons were knit flat and in strips. Each hexagon was separated by a row of purl stitches. Each strip had 15 hexagons. 14 total strips were made (but only 13 were used). All hexagons started at 14 stitches and increased up to 28 except for those done in Araucania. Those were increased only to 26 stitches. Seaming was a basic single crochet seam (vs. ties at the corners). Entire blanket was done on bigger needles and with thicker yarns.
Total strip count: 13 strips out of 14
Total hexagon count: 195 (used. Including the 14th strip it was 210)
Total weight: 3 lbs
Total knitting time starting at the last restart: 7 weeks.
Total starts: 3 times
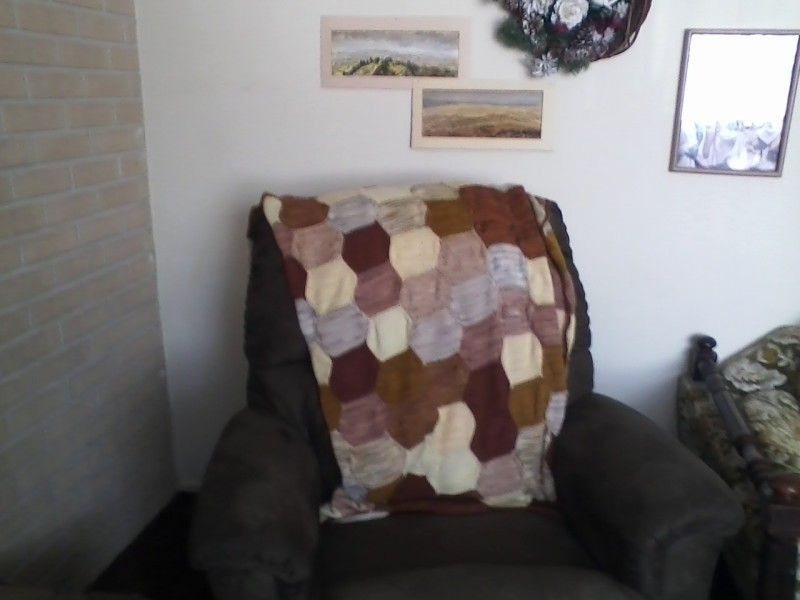
Final size: 60x65
Monday, January 21
Sunday, January 20
BeeKeeper blanket- Part 1
*** Part 2 can be found here ***
This is going to be a huge post. Huge. In the end, I decided to split it into 2 posts. This first one will be the process, including details on modifications. The second will be more of a regular "stats" type post. The bulk of the info will be here, today. Tomorrow will be more focused on the tools (the yarn (again), the needles, total time, etc.), more of a summary. Less process rambling and more specifics for basic questions.
I have so much to say about this blanket that I'm not sure where to start honestly. I started it back in Sept. 2011.
My original colors including a gorgeous blue. It was the first one I had on hand. The actual colors at this point were only 6.
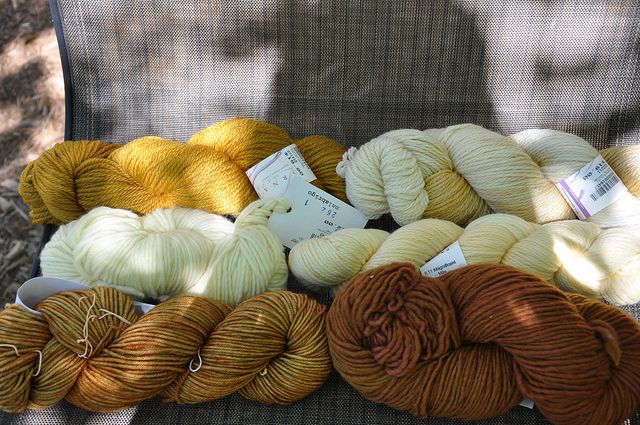
That would soon become 10 total colors (with no blue). They were:
Lorna's Laces: Patina, MonkeyShines, The Bean, and Magnificent Mile (all Shepard Worsted)
Madeline Tosh Vintage: Ginger
Madeline Tosh dk: Dusk
Malabrigo: Butter, Rich Chocolate, and Applewood (all worsted)
Araucania Coliumo Solid: Color 24
This was a lot of yarn. A LOT. I don't think I realized just how much it was until I got knitting. This was restarted three times. The first was done as written with a modified stitch count. I started with 14 and worked my way up to 28 (each side). I had opted not to stuff them since the change in yarn weight would make the blanket thick enough.
After a skein or so of doing it that way I knew there had to be a better way. And there was. Sort of.
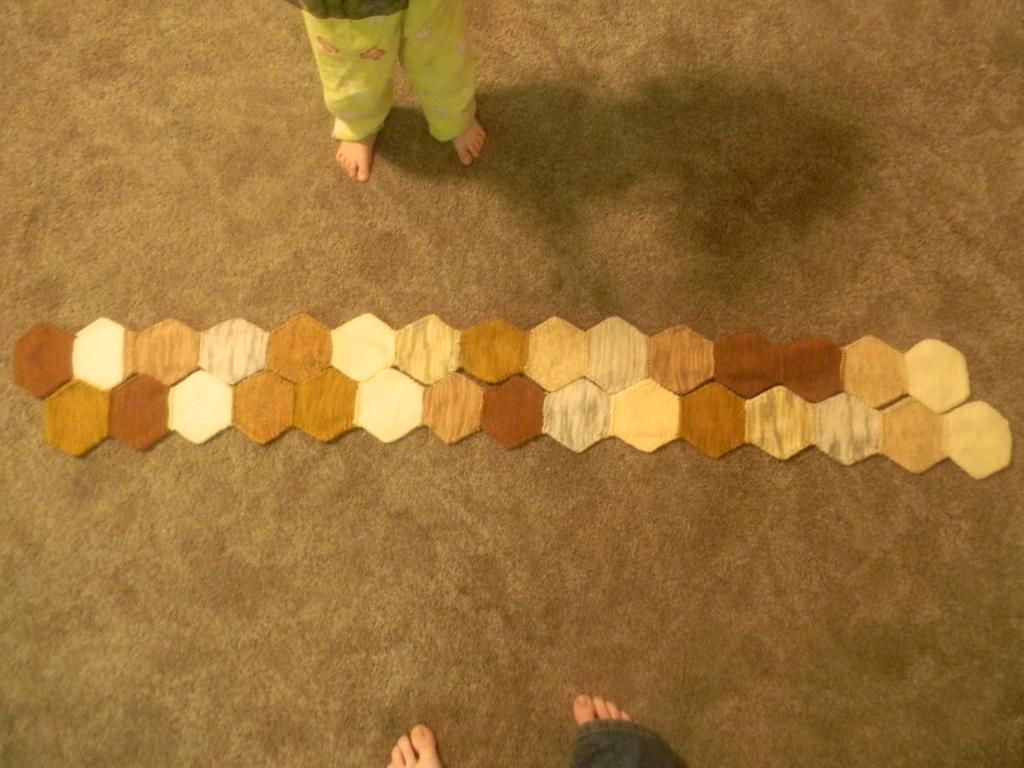
I started to connect them into one strip with a purl round between each hexagon. This required some surgery though.
I needed to undo an end on each hexagon already finished, work a purl round on which ever one had the longest tail, and then kitchener them together. This took a lot of time. A lot of time. It worked though and soon enough I had a nice long strip of hexagons.
Seaming everything together seemed like it would be world's easier (and less time consuming). There was a problem though. It took a ton of yarn and was heavy. Each strip, on it's own, weighed half a lb. I was planning on a 14 strip blanket. 7 lbs seemed a bit excessive. I kept at it though and worked until I was near the end of my yarn. By this point I was almost 30 skeins in. Moving and life worked a way into my knitting plans and the blanket was set aside until recently. Laying in bed one night the thought hit me that was an even smarter way of doing this. It would result in a lighter weight blanket and if I was lucky, I wouldn't have to buy more yarn (which was nice because certain colors were proving hard to get).
Near the end of November, I started reknitting thins thing for the 3rd time. I kept the same idea (strips with purling between hexagons) but made it a single layer. I reknit all the strips I already had and got 2 strips out of every one.
It meant more blocking and an edge due to curling. In no time at all though, I had my 14 strips.
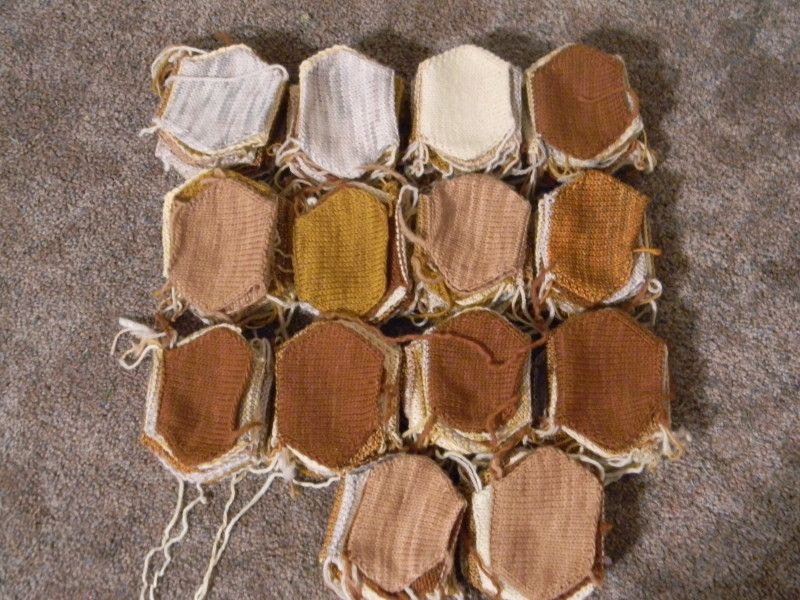
I steam blocked everything and accordian folded them into piles.
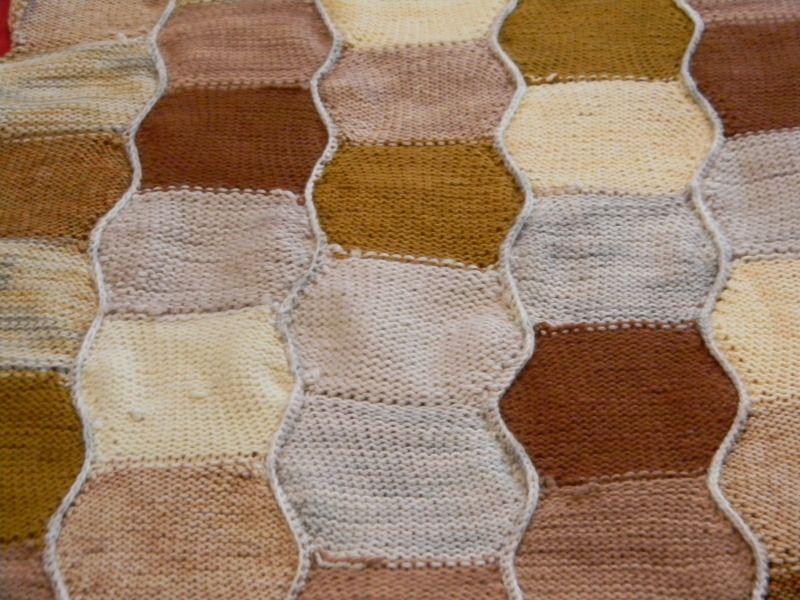
I used almost all my yarn. I wasn't done yet. I still needed the edge and seaming. Anyone who has handled knits (whether fabric or otherwise) knows it stretches. Sewing knit fabric is a pain and I knew that wasn't going to work for seaming. I didn't want to tie corners (like the pattern originally said). It needed stability and durability. I opted for a simple crochet seam. I think it ended up being one of my favorite parts of the overall blanket.
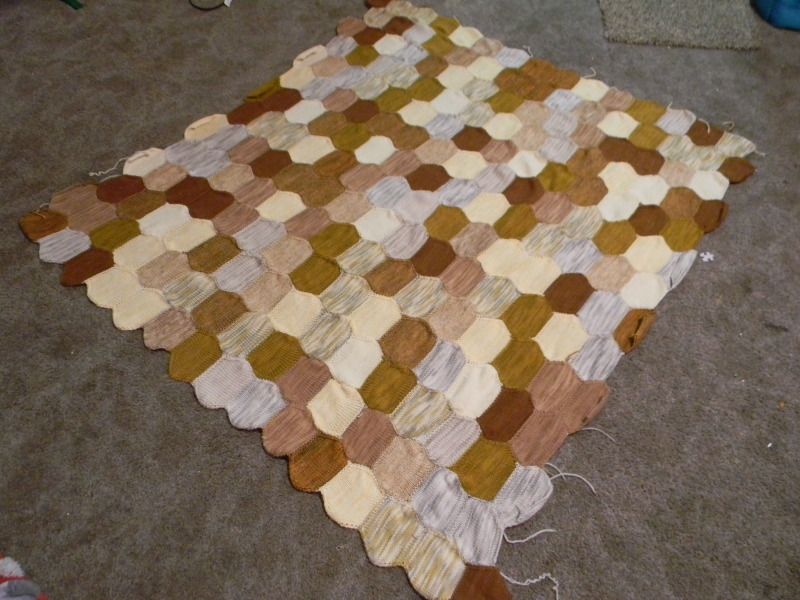
There were some bad times with seaming. The more strips I added, the easier it was to overstretch and introduce puckers. The night of my last one, I laid it out to steam block a batch of seams and noticed some major puckering. With only 2 days left to work on this (it was a birthday present) I was upset. I had to undo 4 strips. I managed to get them back on in record time only to realize, the final strip was NOT going to work. While I intended to make it 14 strips wide the end result is only 13. The final strip was too much. It was stretching the fabric and no matter how hard I worked at it, the puckering was too much. The edge would never have worked.
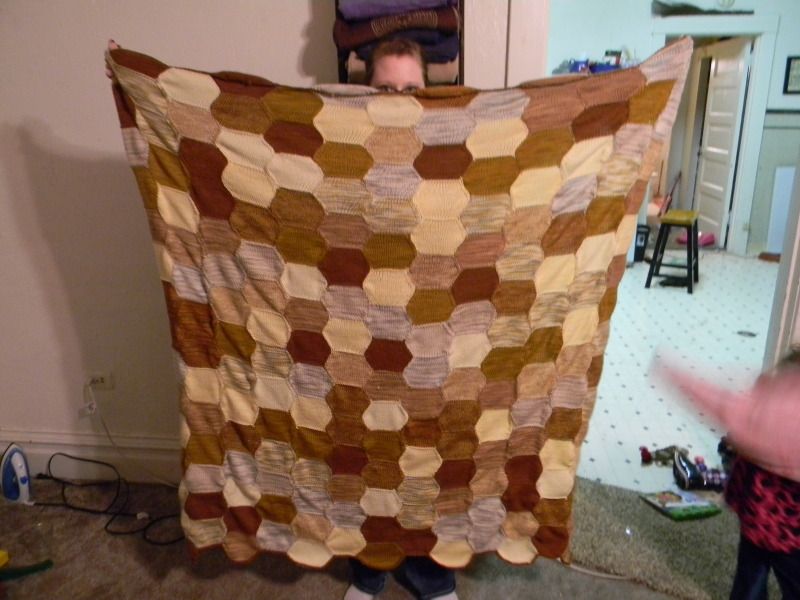
There was no pattern when it came to what strip went where. The strips were done with a random number generator and done in sets of 2 (so only 7 pairs of of unique placement). I picked based on what looked nice next to each other.
Are the seams perfect? No. As you can see between the strain of being heavy and the increases, there are spots that appear more open than others. That's ok though. I tried to avoid it only to realize it wasn't happening.
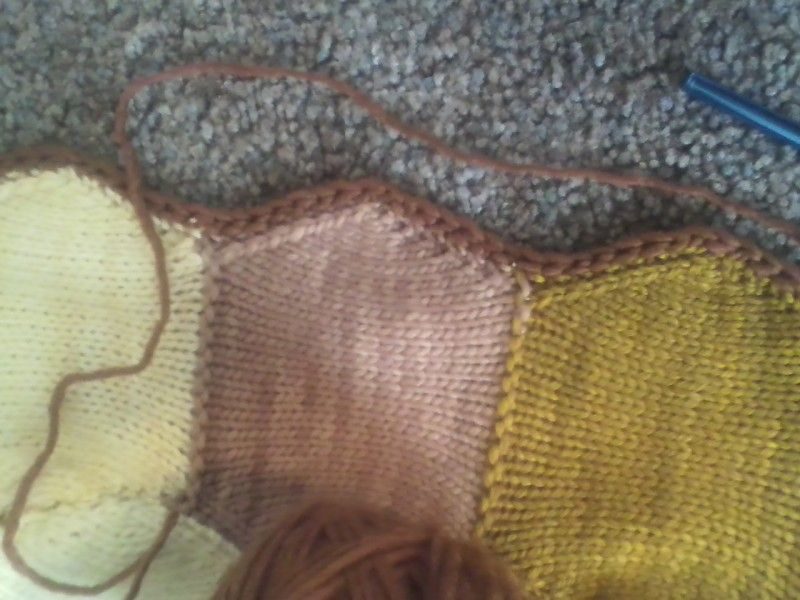
The day of the person's birthday, I was still working on it. I was weaving in ends and reblocking 10 minutes before leaving to gift it. The edge was the fastest part (and this is a genuinely crappy picture).
I went with the shape of the blanket and kept it simple. It was just enough to keep everything from curling and added that final detail that made it look finished.
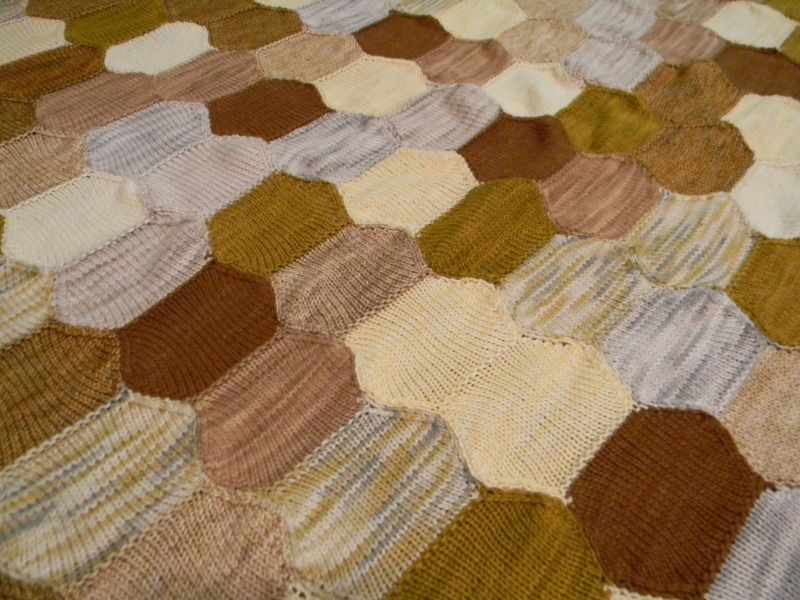
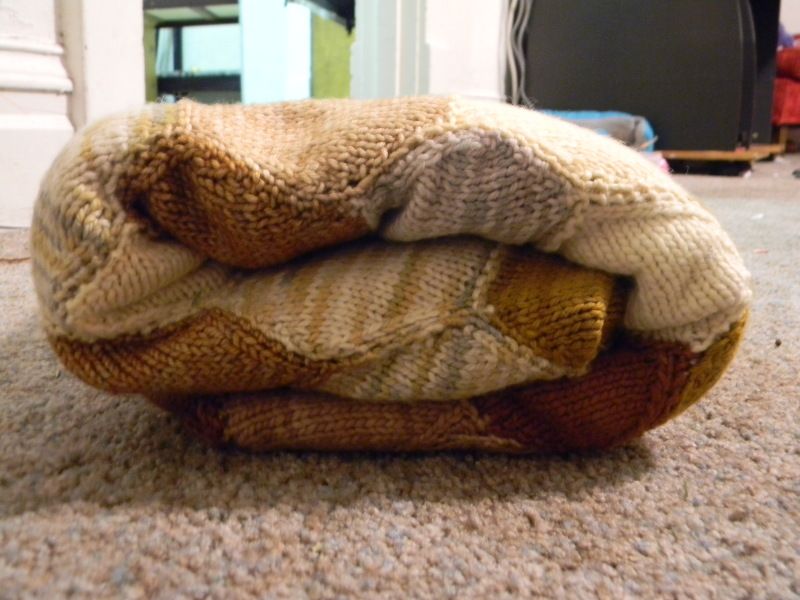
It's big. Perfectly size. End weight was 3 lbs. To say it was well received would be an understatement. It was a labor of love. Would I make it again? Not on your life. Am I glad I did? So very much. Now that's it done my knitting basket and my time seem empty. I didn't realize how big of a project it was until I was done and it wasn't in my possession. I have other things to work on knitting wise (Color Affection!) and shop wise but this took up a lot of mental space and a lot of physical space. And I'm damn proud of the entire process.
Thursday, January 10
Subscribe to:
Comments (Atom)

